
Certified Business
with over 10,000 orders
with over 10,000 orders

Marking whiskers are flexible ground markers used where flags or paint may be damaged by traffic, mowing, or equipment. You can attach them to a 60-penny nail, wooden stake, or compatible hub, then place them at the point you need to keep visible. Their flexible bristles bend when contacted and spring back into view.
This guide explains how to use marking whiskers, where they work best, and when they make more sense than traditional marking flags.
Also Read:
Marking whiskers are highly visible, flexible markers made from synthetic bristles, commonly nylon, attached to hardware that can be secured with nails, stakes, or hubs. Their low profile helps them stay out of the way while still marking a specific point on the ground.
Marking whiskers are often a better fit than flags where markers may be stepped on, mowed over, or driven across. Their flexible bristles can bend under contact and remain visible afterward. Flags can still be the better choice when you need a taller marker that crews can see from farther away. This difference matters on road construction and survey sites.
Many marking whiskers are built for outdoor use and are available in bright colors for construction, surveying, utility, and landscaping work. Check the product specifications for the material, attachment method, and outdoor rating before choosing them for a long-duration job.
Common attachment methods include 60-penny nails, wooden stakes, and compatible hubs. Choose the method that fits the ground conditions and the type of point you need to mark.
Choose the point you need to mark, select the attachment method for the surface, and secure the whisker so the bristles remain visible above the ground. Use a 60-penny nail, wooden stake, or compatible hub where appropriate. After placement, check that crews can see the marker from the direction they will approach it.
The versatility of survey whiskers makes them indispensable across multiple sectors. Construction professionals constitute the largest user base, utilizing these markers for identifying excavation sites, underground utility lines, and hazard zones. Their resilience to heavy machinery ensures critical markings remain intact throughout construction phases, preventing costly utility strikes and supporting safe workflow protocols.
As one industry professional notes, marking whiskers are versatile and suitable for a wide range of applications. Construction teams use them to mark property boundaries, utility lines, and other critical points in surveying, with their flexibility and durability ensuring that markers remain intact and visible throughout the process, providing reliable reference points.
Surveying applications focus on marking property boundaries, reference points, and grade levels where precision matters most. The markers withstand harsh environmental conditions while maintaining accuracy for boundary documentation and measurement activities. Professional surveyors appreciate how these tools remain visible and intact for the duration of complex surveys, unlike traditional markers that often require frequent replacement.
Landscaping professionals have embraced ground marking whiskers for outlining irrigation lines, planting areas, and garden features. The flexible design allows markers to bend without breaking when encountered by mowing equipment, maintaining clear layout guidance throughout installation phases. Athletic field maintenance, cemetery plot identification, and forestry operations represent additional specialized applications where visibility and durability prove essential.
Survey marking whiskers deliver substantial advantages over conventional flagging and tape systems. Industry experts emphasize that these highly visible field marking whiskers can withstand harsh weather and heavy machinery, ensuring reliable performance over time. They provide a cost-effective, long-lasting solution that's essential for roadwork, excavation projects, and other applications where precision is key.
The practical advantage is simpler: whiskers are designed for locations where a marker may be disturbed repeatedly. Fewer damaged markers can mean less time spent replacing marks during the job, while the low profile keeps them out of the way of normal site activity.
Installation efficiency represents another key advantage. Designed to provide maximum visibility and withstand multiple passes of a grader blade, these safe and easy to spot whiskers can be easily hammered into a wooden stake or quickly fit onto a 60 penny nail, available in highly visible colors. This streamlined deployment proves especially valuable on large-scale projects where marking hundreds of points manually would consume significant labor resources.
Marking whiskers work best when a low-profile marker needs to stay visible through foot traffic, mowing, or equipment activity. They are useful for survey points, utility layouts, grading references, irrigation work, and other locations where taller flags may be knocked over or get in the way.
For long sight lines or areas where crews need to see a marker from farther away, a traditional marking flag may still be easier to spot. Match the marker to the way people will move through the site and how long the mark needs to remain in place.
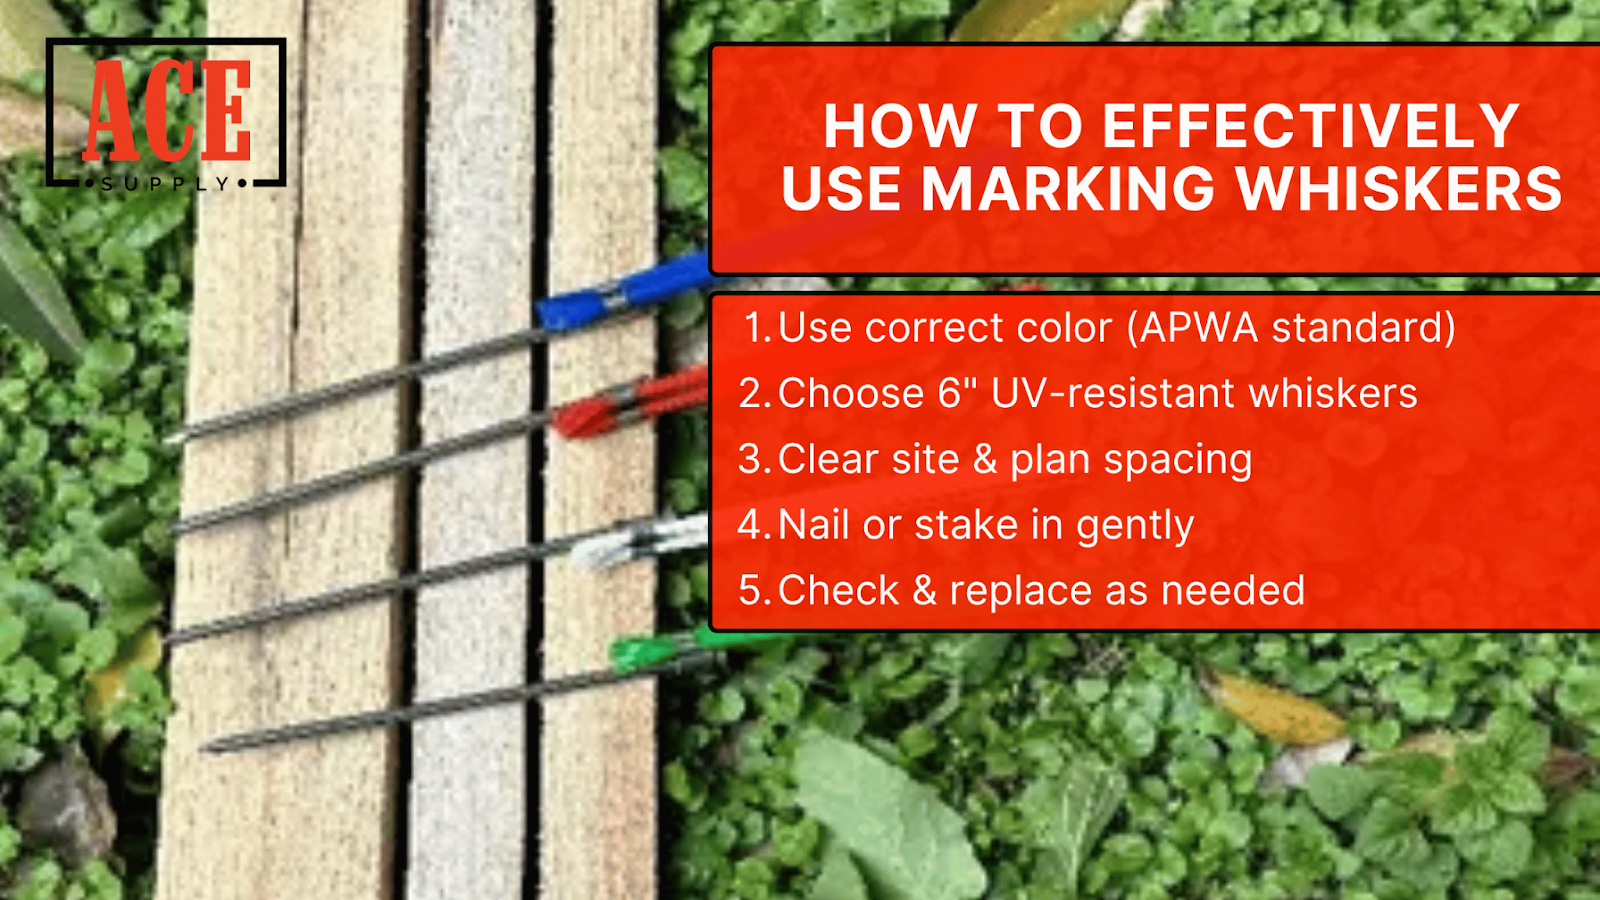
Proper selection begins with understanding American Public Works Association (APWA) color-coding standards that assign specific colors for different utilities and applications. Red markers indicate electrical systems, blue represents potable water, yellow signals gas or oil lines, while green designates sewer systems. Following these standardized codes ensures clear communication across multi-contractor sites and supports safety compliance requirements.
Length selection typically centers around the standard six-inch option, which provides optimal visibility without interfering with equipment operations or landscaping maintenance. This length keeps markers low-profile enough to avoid snagging hazards while ensuring they remain visible after installation, even when subjected to traffic or routine site activities.
Material durability considerations should align with project duration and environmental conditions. Professional-grade options feature UV-resistant, weatherproof construction designed to maintain color integrity and structural stability across extended exposure periods. The flexible synthetic materials prevent breakage while ensuring markers return to upright positions after equipment contact.
Clear the spot where you want to mark.
Drive a nail or stake through the center of the whisker.
Hammer it into the ground until the bristles are visible.
Site preparation begins with surveying intended marking locations to identify potential obstructions or safety concerns. Clear debris, vegetation, or loose materials that might interfere with marker visibility or installation stability. Measure and mark precise spots using tape measures or marking rope to maintain consistent spacing and alignment, particularly important for boundary demarcation or utility line identification.
Consider ground conditions when planning installation approaches. Softer soils accommodate direct nail installation, while harder or rocky ground may require wooden stakes to prevent bending or installation difficulties. Pre-planning your attachment method streamlines the actual installation process and ensures consistent results across the project site.
The nail installation method involves inserting a 60-penny nail through the circular opening of the whisker's metal clip, then hammering the nail directly into the ground at the desired location. Drive the nail until the whisker attachment sits firmly against the ground surface, ensuring the bristles stand upright and remain clearly visible.
For stake installation, drive a wooden stake into the ground first, then position the marking whisker by holding the opposite end of the metal clip and hammering the clip securely onto the stake top. This method works particularly well in harder soils or when multiple markers need consistent height positioning.
Gentle hammering prevents damage to both the whisker assembly and the attachment hardware. Strike with controlled force to achieve secure placement without bending or breaking components. The goal is firm anchoring that keeps bristles upright and visible while allowing the flexible design to function properly under equipment contact.
Position whiskers so colored bristles extend clearly above surrounding grass, soil, or debris levels. The markers should remain visible from multiple angles and distances, supporting easy identification by survey crews, equipment operators, and safety personnel throughout the project duration.
Regular inspection schedules help maintain marking effectiveness, especially after heavy equipment passes, severe weather, or significant site activity. Check that whiskers remain upright, securely attached, and clearly visible. Replace or reposition markers as necessary to maintain accurate site identification throughout the project lifecycle.
Rocky or compacted soil presents installation challenges that require modified approaches. Pre-drilling pilot holes using a small diameter bit can ease nail insertion without bending the attachment hardware. Alternatively, switching to wooden stakes driven with a heavier hammer provides more secure anchoring in difficult ground conditions.
When direct installation proves impossible, consider using longer stakes that penetrate deeper into softer soil layers beneath rocky surface conditions. This approach maintains stability while ensuring whiskers remain properly positioned and visible throughout the project duration.
High wind conditions can affect whisker visibility and potentially cause premature wear. Installing markers with slightly shorter exposed lengths reduces wind resistance while maintaining adequate visibility. Grouping whiskers closer together in critical areas provides redundant marking that ensures at least some markers remain clearly visible even during severe weather events.
Consider using heavier gauge attachment hardware in consistently windy locations. The added weight helps stabilize markers against constant wind pressure while maintaining the flexible characteristics that allow whiskers to bend without breaking.
Heavy machinery operations require careful marker placement to avoid interference while maintaining visibility. Position whiskers far enough from equipment paths to prevent frequent contact, but close enough to remain useful for identification purposes. The six-inch length typically provides the right balance for most applications.
When working around excavation equipment, consider using color combinations that remain visible against soil backgrounds. Bright orange or pink whiskers often stand out better than traditional colors when surrounded by dirt or disturbed ground conditions.
Use marking whiskers as visible reference points within the marking system required for the job. If the work involves underground utilities or excavation, follow the applicable locate process and local requirements before digging.
The APWA Uniform Color Code uses white for proposed excavation, pink for temporary survey markings, red for electric power, yellow for gas or petroleum, orange for communications, blue for potable water, purple for reclaimed water, and green for sewer and drain lines.
Color helps crews interpret a site quickly, but the marker itself does not replace required locating, documentation, or safety procedures.
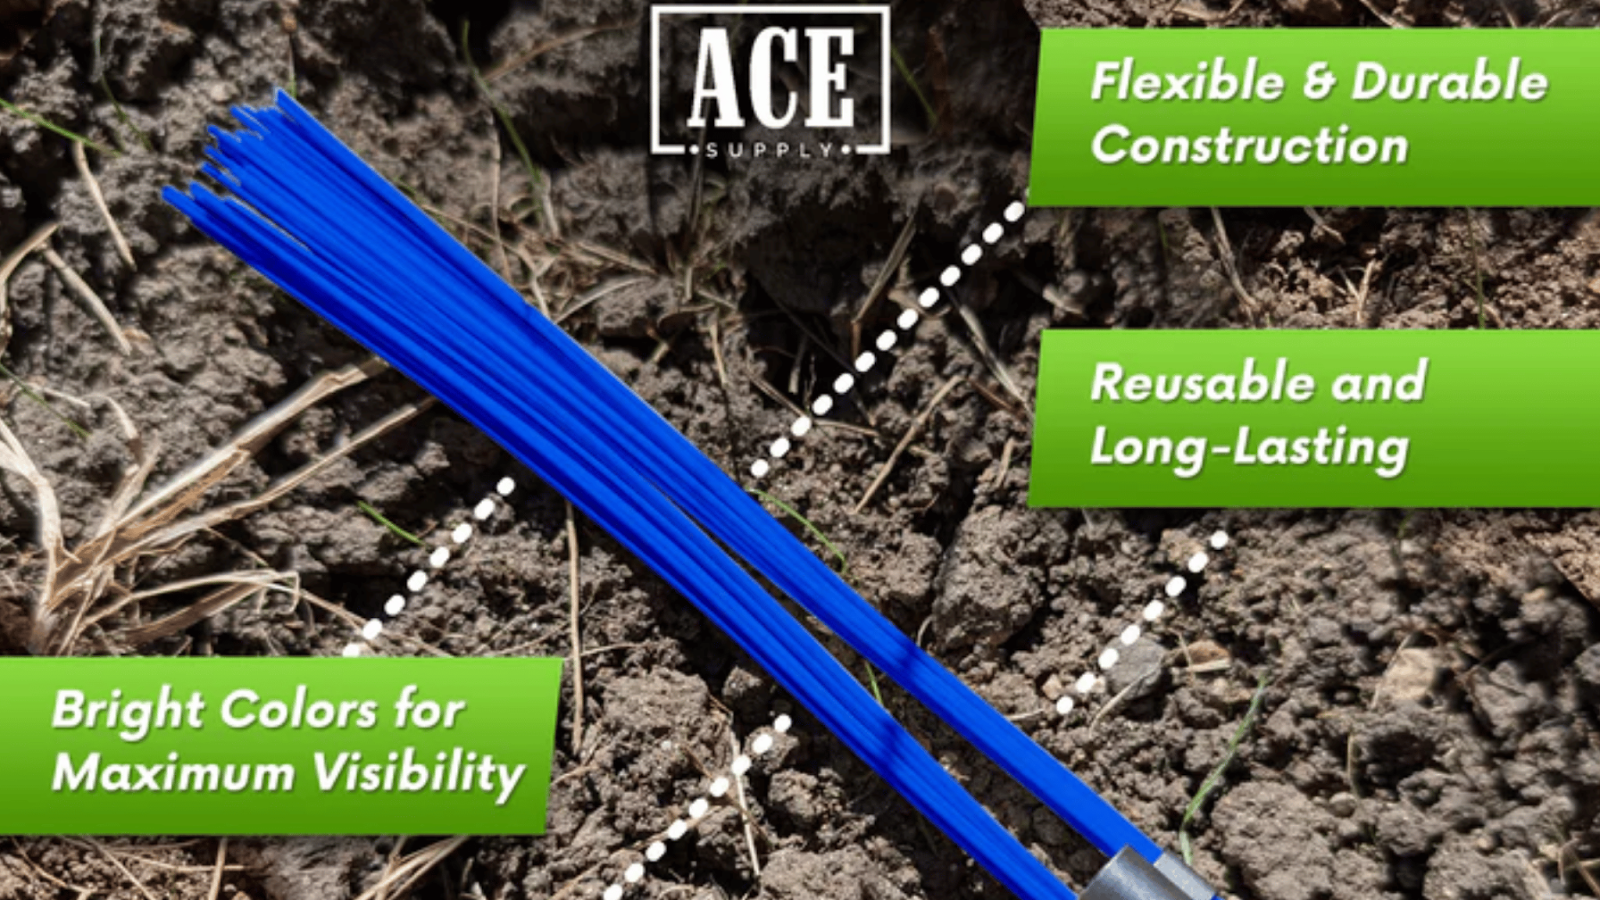
Professional-grade marking whiskers feature UV-resistant synthetic fibers that maintain color integrity and structural stability under extended sun exposure. Look for products specifically rated for outdoor use with documented weather resistance properties. Quality materials resist fading, cracking, and degradation that compromise visibility and require frequent replacement.
The attachment hardware should feature corrosion-resistant materials, typically galvanized steel or stainless steel components that withstand moisture and chemical exposure. Poor quality hardware often fails before the bristles, leading to marker loss and reduced effectiveness.
Evaluate compatibility with your preferred installation methods before purchasing. Most professional options accommodate both 60-penny nails and wooden stakes, but some specialized applications may require specific attachment systems. Verify that the whisker design matches your typical ground conditions and installation equipment.
Consider bulk packaging options that align with project scales. Smaller projects may benefit from mixed-color packages, while large-scale operations often require single-color bulk quantities that provide cost advantages and consistent appearance.
Quality whiskers maintain their upright position after equipment contact while remaining flexible enough to bend without breaking. Test samples should demonstrate consistent recovery characteristics and resist permanent deformation under typical field conditions.
Visibility characteristics become crucial for safety and efficiency. Premium products feature bright, consistent colors that remain clearly visible in various lighting conditions and backgrounds. The six-inch standard length provides optimal visibility without creating interference issues.
Compare whiskers by how often the markers are likely to be disturbed, how long the project will last, and how much time crews would spend replacing damaged marks. A more durable marker can make sense on active sites where flags or paint need frequent attention.
For shorter jobs or areas with little traffic, a simpler marking method may be enough. Choose the product around the work conditions rather than assuming the heaviest-duty option is always necessary.
Marking whiskers are a practical option when you need a low-profile marker that can stay visible around traffic, mowing, or equipment. Match the color, attachment method, and material to the conditions on the site.
If marking whiskers fit your site conditions, compare Ace Supply USA's premium marking whiskers for construction, surveying, and other ground-marking work. You can also visit our website to compare related marking tools if a taller flag or another marker style better fits the job.
{"one"=>"Select 2 or 3 items to compare", "other"=>"{{ count }} of 3 items selected"}